DIY RUSTIC WOODEN ARROW
Arrows are making an impact in a big way! We are seeing them woven in textiles, clothing, accessories and even decor. The best part about this trend is that there are so many easy ways you can adopt the look into the place you call home. The tutorial we are sharing today is a rustic arrow wall art DIY that made it’s debut in Haley’s nursery tour back in September. Grab a few materials (and someone with saw skills) to tackle this fun project!
Materials:
Miter Saw
Tape Measure
Pencil
Right Angle Speed Square
Safety Goggles
1 8ft length 1×4 wooden board
Wood Stain
Clean white cloth
2 ½” Mending Plates
Sawtooth Picture Hangers
Drill or Screwdriver
Hammer
Steps:
Measure. Starting at the top, mark every ten inches with your pencil. At the top left corner, take your right angle speed square and draw a line at 45 degrees from top to bottom down the entire length of the board.
Cut. Make your cuts following the 45 degree angle lines you drew.
Sand and Stain. Sand the wood with a light grit sandpaper to ensure your stain will adhere. Use a clean white cloth to apply the stain. You only need to apply it to one side since these will be hung on the wall. Allow to dry overnight.
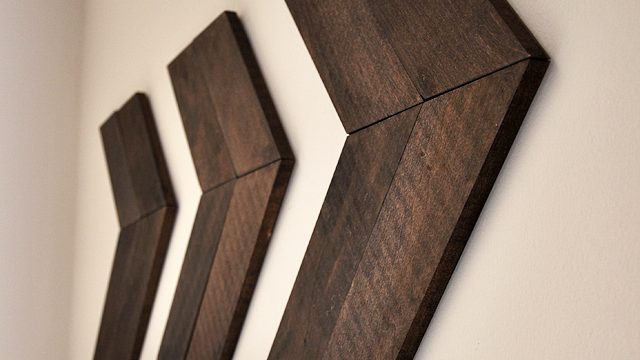
Assemble. Line up the four angled pieces so they form an arrow. Attach mending strips as shown, and drill in the screws. Make sure your screws are no longer than ¾” to ensure they don’t show through on the finished side of the arrow.
Hang. Using the hammer, attach the sawtooth picture hanger to the back of each arrow. Hammer in a nail into the wall and hang!